Cleaning, conserving and mounting from scratch a Moa skeleton from New Zealand. Nigel Larkin, 2022.
The bones of this skeleton were cleaned with compressed air. Some paint was removed from the surface of the
bones with compressed air very slightly laced with sodium bicarbonate, using an airbrasive unit.
Some of the toes had been modelled roughly in plaster and were a strange pink colour. Some remodelling was required to make them
a better shape, and they were painted with artists acrylic paints to more closely match the rest of the skeleton. Similarly,
a large portion of the skull had been modelled in a clay, painted pink. This clay was covered in Japanese tissue paper to give a
more matt appearance, and coloured with artists acrylic paints to roughly match the colour of the surrounding bones.

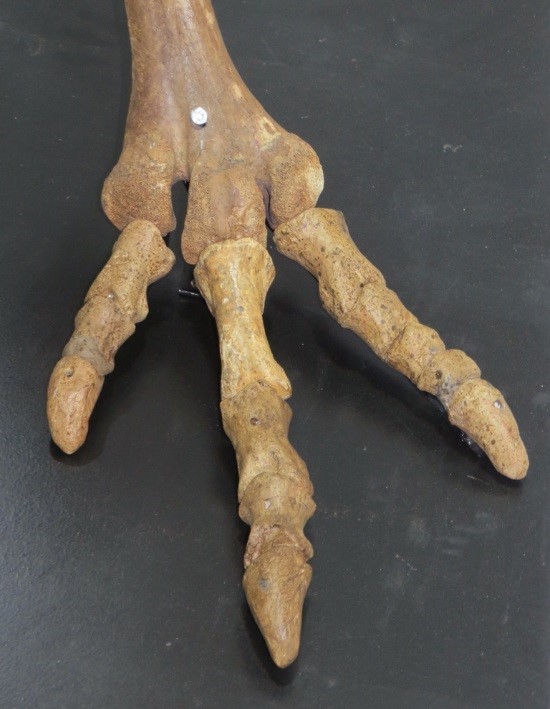
Above: Left, paint on the end of a foot bone that had to be removed. Middle, showing real foot bones on the left and one of the plaster models previously painted pink
(on the right). Right: all these modelled toes were previously painted pink but have now been painted to more closely match the bones of the skeleton.
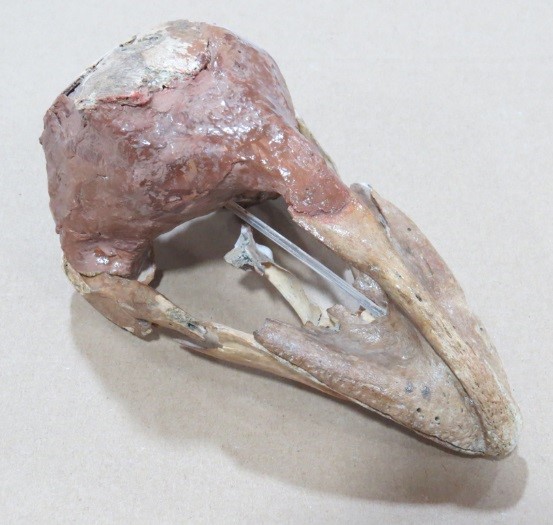

Above: the skull before the pink clay was painted (left) and after (right).
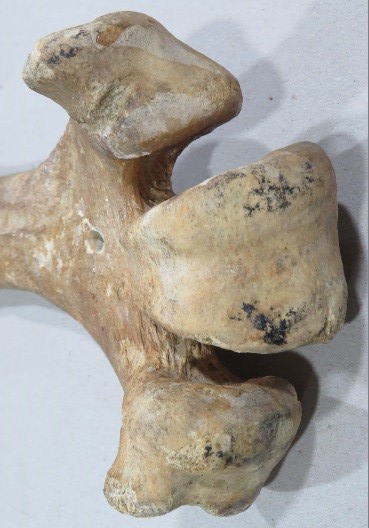
Four bones had been broken off the sacrum in the past (two x ischium and two x pubis) and one ischium is now missing. They have previously been stuck on to the sacrum and then
given support from the sacrum with wires. However, this would leave them prone to being broken off again, being long and thin. Therefore, in each instance a short
galvanised metal dowel was inserted across the break and adhered in place with Japanese tissue paper and neutral pH adhesive, with more tissue and adhesive deployed to
fill any remaining gaps in the join. This method of attachment should be strong enough not to require extra supporting wires. The holes previously used for wiring were filed
with Japanese tissue paper and neutral pH adhesive.

Above: The ischium and two pubis bones were supplied detached from the rest of the sacrum (left). They had failed along old joints where they had previously been wired in place.
They were re-adhered with Japanese tissue paper and neutral pH PVA (right) with short galvanised metal rods inserted across the join.
A new mount was made from scratch using sections of steel welded together, although the original rod for the vertebrae was re-used as well as the metal bracket within the
sacrum into which this rods inserts. Existing holes were used, no new holes were drilled.
Once the skeleton had been mounted from scratch on new armature the many superfluous holes that had previously been drilled into the bones for old mounts were filled with
Japanese tissue paper and neutral pH adhesive.
The plinth for the skeleton was made from 25mm thick MDF. This was given two coats of Dacrylate varnish to reduce offgassing of VOCs, followed by three coats of black ‘eggshell’ paint.
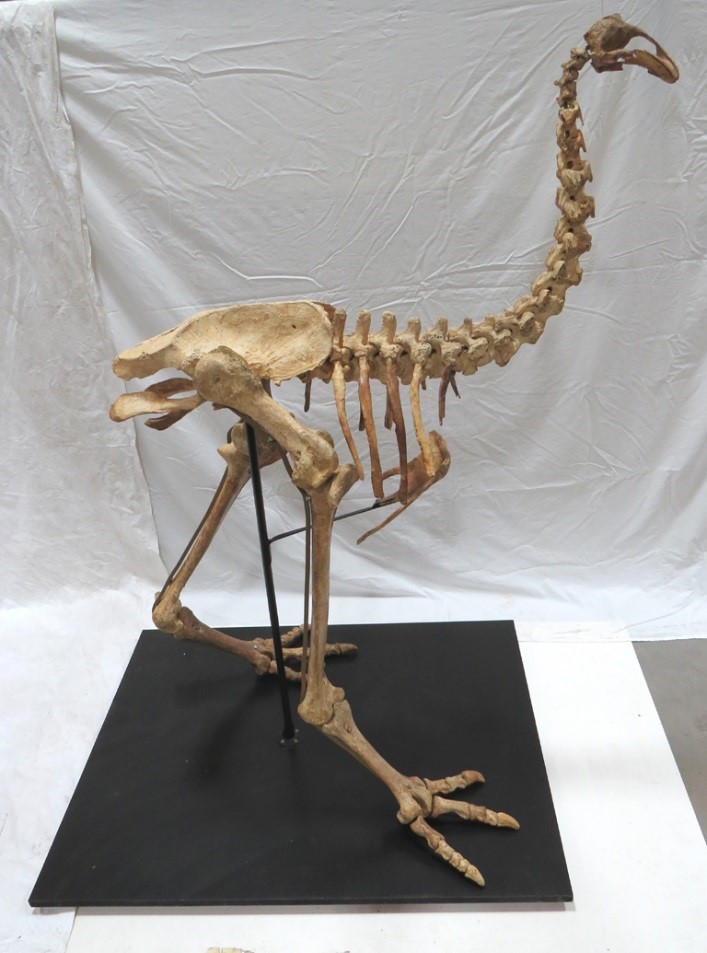

Above, the finished specimen ready for display.
For more details about what we can do for you, or for a quote, please
contact:
enquiries@natural-history-conservation.com
We
are members of the United Kingdom Institute for Conservation of Historic and
Artistic Works
